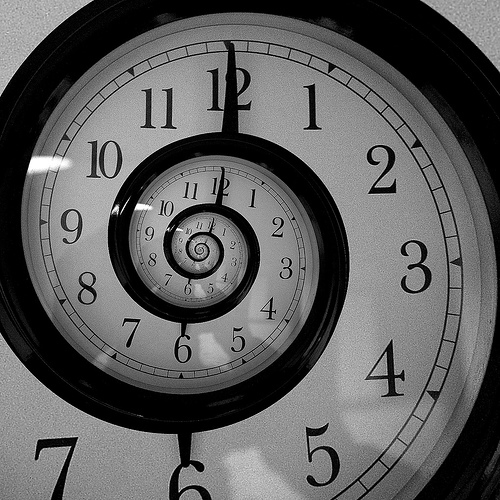
Rendering can be a very time consuming process, its all about quality, detailing and a great deal of patients, that’s why it’s important that we have fun on the job. Unfortunately, it can also be very stressful when you have a tight deadline. I have compiled a few tips that could help assist your workflow during the process of modelling and creating photorealistic rendering.
 |
| picture by: http://www.lightspeed.cx/ |
1. Plan Ahead: for purposes of saving time, it’s good to plan ahead before you get on the computer. Weather your modelling, texturing or rendering; it’s a good practice to layout your design ideas and vision for the project on a piece of paper before you actually start you modelling. You can do this by sketching, writing, brainstorming on the internet, reading, compiling reference images, and many more. In terms of rendering, you can search for your textures and mapping, HDRI ahead of time according to the vision you have for your concept. This can help you in the long run because when you’re in front of the computer you know exactly what your goal is and it makes your concept a lot easier to execute.
2. Override material (Global illumination): this setting allows you to substitute all of your original material content with a color that will represent all materials combined. Not only will this option save you some time, but it’s great to preview your exterior illumination and shadow quality.
3. Render and Relax: After your satisfied with your render settings it’s time to render and Wait!....... a good quality render can go from 45 mins to 3 hours or more, so to avoid waiting in front of the computer until the work is done, its good to get involved in other activities to pass the time. If you’re the type of person that works at home, read a book, watch some tv, go outside for a walk, you can even set your rendering at night before you go to bed...... overall, engage yourself with activities that will take your mind off work, you’ll realise that it’s a lot less painful then waiting in front of your screen.
4. Creating Components instead of copying geometries: When you have the same type of model throughout your scene, it’s good to create a component and spread it through your scene. The great thing about components is, once you have a ton of them throughout your model, all you have to do is edit one and it will update all your other copies. Components also take less space, so you will save “size” in your model. Get into practice of making your duplicate of one component in your scenes, such as light fixtures, windows, doors, concrete pave pads, etc.
5. Use V-ray channels: Have ever wondered what the other 2 images are that come along with your final image, well those are your v-ray channel output. Sometimes we are so anxious to see the final results of our renderings that we ignore the little things that can help us past the rendering process. When you’re ready to proceed to with your final rendering, make sure you set up your v-ray channel outputs to help you out with your post-production. There are tons of channels to select from, for example your RBG color, Alpha, Shadow, Reflection, diffuse, Material ID, and many more. These are output images that differentiate and separate many of the factors involved in your rendering, which will save you time when you post process your work.
6. Create a Test vispot for preview – How many times to you press the “render”, wait until v-ray process your scene, and wait another few minutes until your rendering is done only to find out you made a small mistake. You go back to fix it, press the render button again, you look at the time and realise 2 hours just went by. Many of us have the habit of previewing our renderings with the final settings, not realising that it can take a lot of time to just “preview”. It’s always a good idea to have a test/preview vispot that will render your scene faster and still give you enough quality to make decisions on altering your settings. Here is a list of settings that can help you create a test/preview vispot.
a) check your override material option inside the "Global switches options". In your indirect illumination the best combination of engines to generate fastest results are irradiance map and light Cache.
b) Irradiance map: Decreasing your HSph subdivision and samples can control the quality of your render, so keep it low for previewing your work, and increase it for better quality for your final output.
c) Light Cache: same as your HSph the subdivision in your light cache increases the quality of your work, the higher the value, the better the result, so keep that in mind while creating “test vispot settings”
I hope these tips can help many of you in managing your workflow.


No comments:
Post a Comment